Date: April 24, 2024
So, we left off on having derived our rotation matrix from scratch, great, but how do we apply this? We can add camera offsets by subtracting the camera's position from the rotated geometry, but first off, we are going to need some geometry to transform. I created my geometry in the 3d software Blender, but you could create it by hand if you choose to do so. Most people are aware of points (referred to as vertices), but not as many are familiar with indices. Indices tell us which points are connected to each other. We will only be using triangles (the simplest shape) so we will only have to deal with three indices per face. We will only be dealing with wireframes, so we don't have to worry about drawing the faces/pixels in the right order.
Here we have an implementation of what we just talked about. We simply just put the coordinates into the rotation matrices and displayed them on the screen, connecting the points based off of the indices list.
We did all of this work, but something doesn't look right, it's lacking perspective. To make this look right we are going to have to do a little more math.
We can start with the humble pinhole projector, the simplest form of a camera.
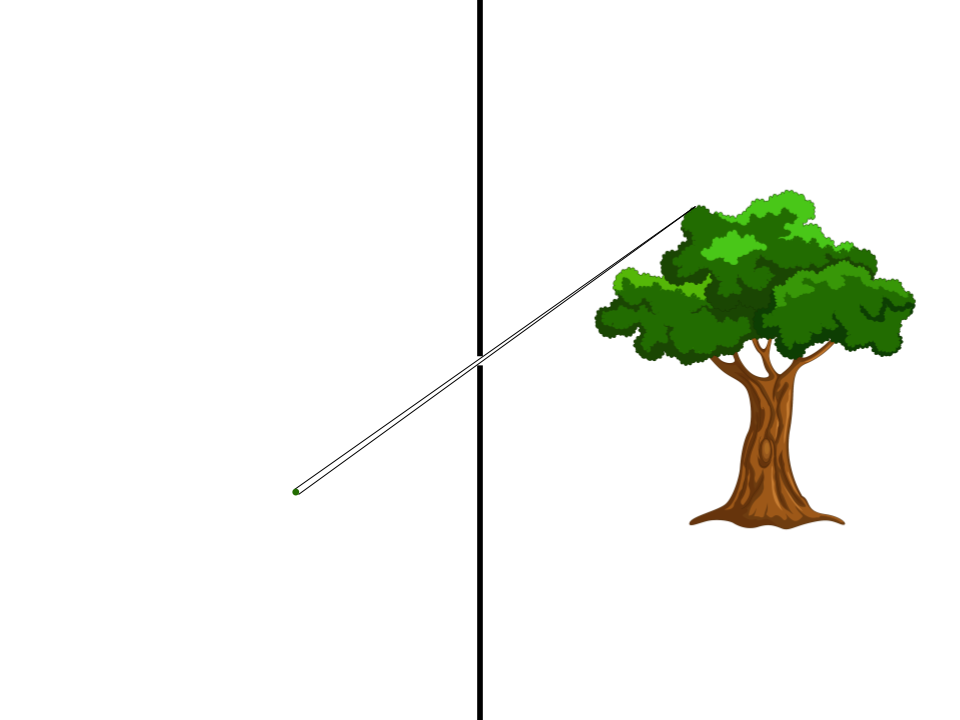
a single dot from one point of the object
Here we can see the pinhole of the camera only letting light from one part of the tree hit a very small spot of the backplane.
We can then expand this to say that each point on our object will correspond to only a small dot on the backplane, creating a fuzzy image.
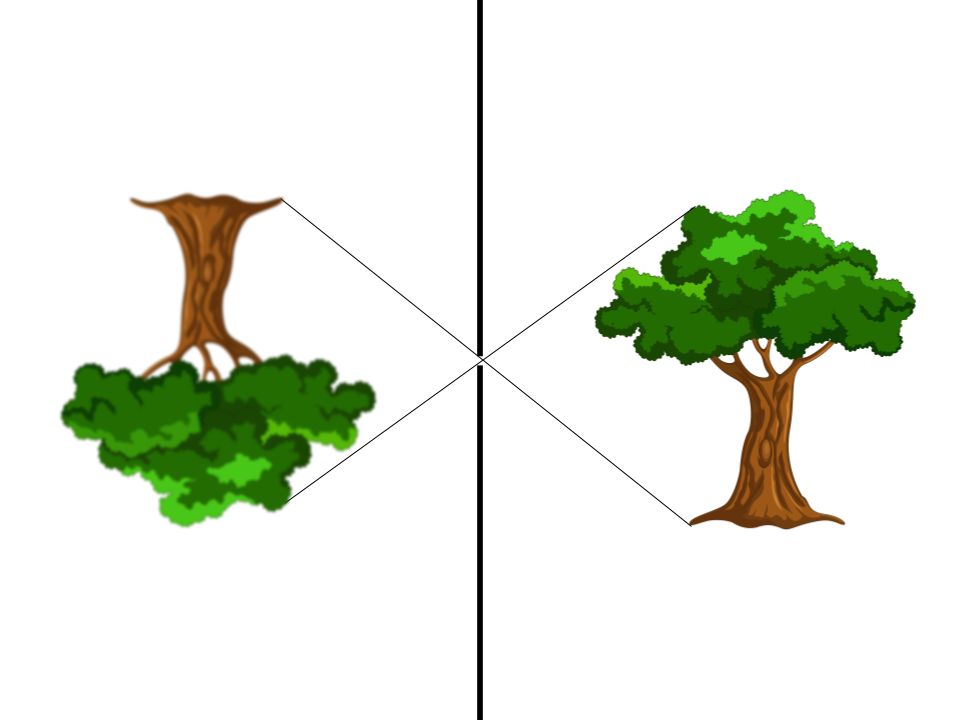
a pinhole camera displaying an image
We can sharpen the image by creating a smaller pinhole, but less light can make it through, so the image will be darker. All of this is great for the real world, but on the computer, we can simplify it.
By moving around the image plane and the lens, we create a mathematically simpler but still correct image. Now we just draw a line from each point on the object to the point of the camera and see where it intersects the image plane. The shape we have created is called a camera frustum.
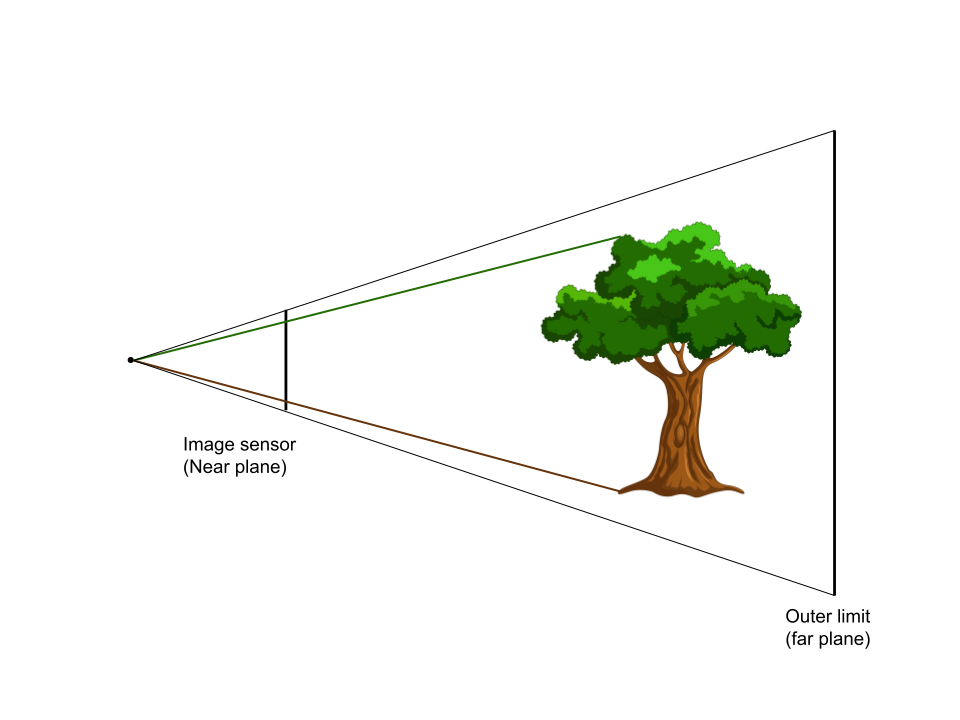
a camera frustrum with an object
I guess we could now reverse this process, shoot out rays for each pixel on the image sensor, see where it collides with geometry, and color it accordingly? (Ray/path tracing explanation coming soon!) But no, we are focused on just showing points. We can calculate the math for this perspective calculation by assuming a camera, solving it, and generalizing it for other cameras and positions along its frustum. Black are our initial assumptions, and green and red are the two other main steps.
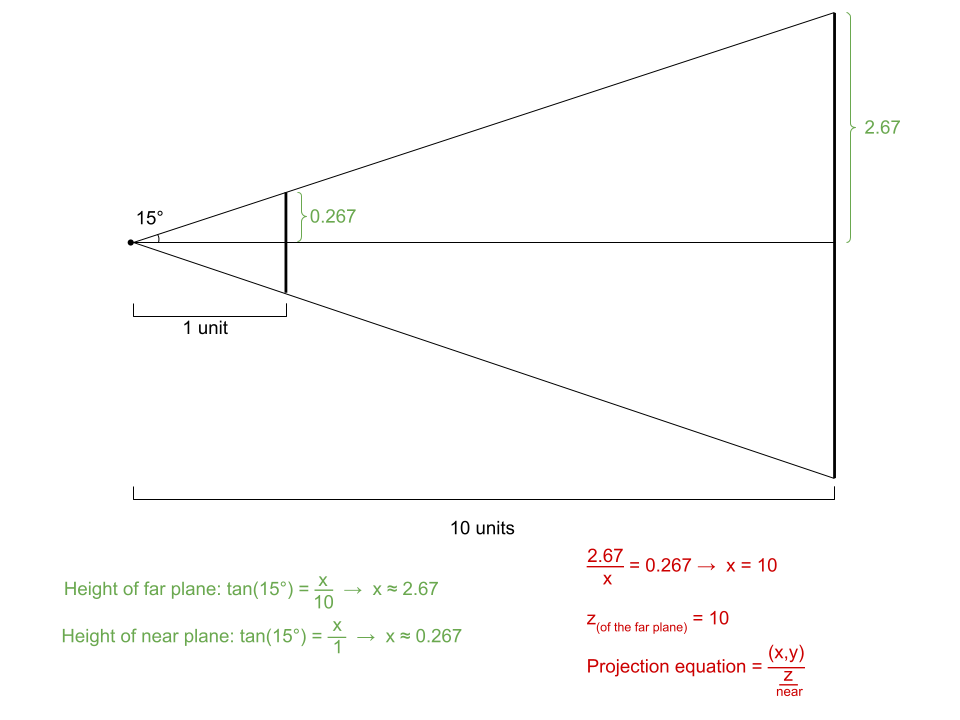
the math behind projection
In case the image didnt load, or it was too blury, the equation is:
$$ \cfrac{(x,y)\cdot near}{z} $$
(Challenge: do the math to discover why you divide the z component or multiply the x and y by the near plane distance)
Ok, the math works now (online you may see a divide by a negative z component. Don't worry, our math is correct, it's just that software like OpenGL uses right-handed 3d space and left-handed 2d space, so you have to convert.), but you may notice one problem. Depending on the FOV and distance of the near plane, our virtual image sensor gets bigger or smaller. The screen we are displaying this on doesn't change size, so we must remap our output to the size of our screen. All screens use something called normalized device coordinates, where the length along the x and y of the screen is measured from 0 to 1.
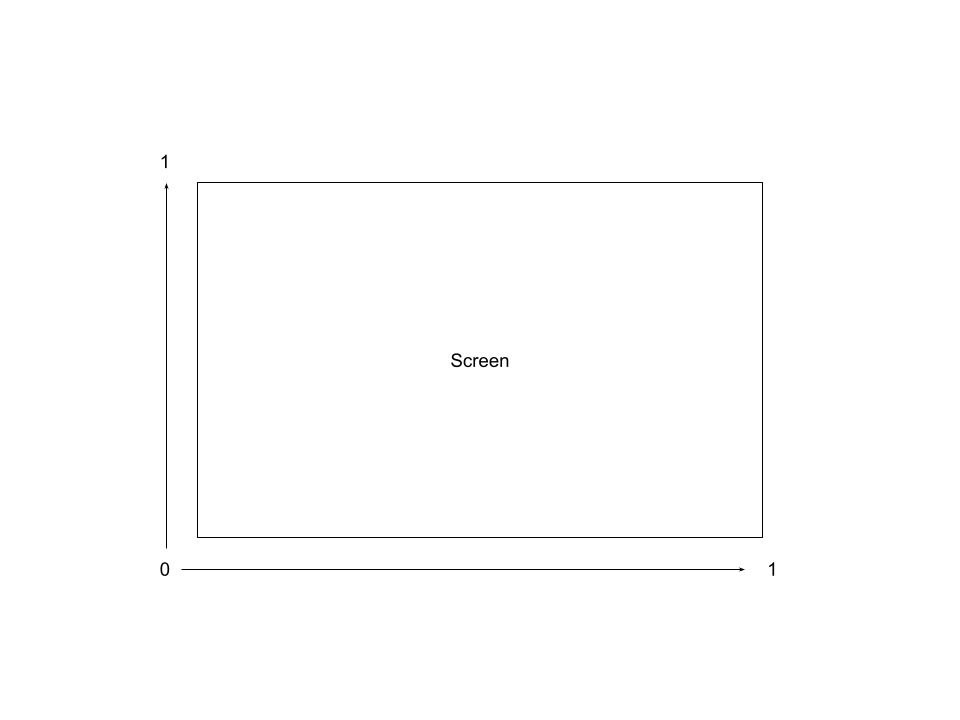
Normalized divice coordinates
We won't worry about it being a rectangle for now, but we will worry about mapping the x and y to 0 through 1. We can do this by simply dividing by the size of the near plane ((FOV/2) * near * 2). Put this all together, and we get this. This is a 2d space projecting onto a 1d screen, but the same concept applies to the higher dimension.
Ok, here we go. This is all of our concepts put together. If you go through all of the equations, you'll see it's just all of the concepts we've gone through!
(You may see a w component in sources online; this is just an abstraction to make some math easier, but it eventually boils down to what we have here.)
That's about all you need to know to do some simple 3d projection! We can go into greater detail about triangle clipping and other things, but that's for a later time. Now go and learn more about 3d Graphics!